
My husband likes to tease me, saying I'm OCD. I keep telling him that I am not....not entirely that is. Some things in my life I have to have completely organized and kept a certain way or I will go crazy!! Then there are other things that I don't organize at all and could care less if they have their own spot or not.
When it comes to organizing clothing closets, I'd say I'm a little OCD. My closet is organized by color and all the shirts have to be hanging in the same direction. Luckily my husband doesn't mind when I take it upon myself to organize his side of the closet :)
I was trying to figure out how I should organize our baby girl's closet. I always organize baby clothes by size, but then there's the question of short/long sleeved, colors, etc. I decided to keep my sanity and skip organizing by color, though that may change one day when I get in my OCD organizing mood. Everyone is different, but my suggestion for organizing baby clothes is to at least organize by size since they grow out of them so fast the first year. Wouldn't want them to miss out on a chance of wearing a really cute onesie!
For those who know me well, also know that I don't always like to buy unnecessary things for a baby's room. I'd rather spend more money on organizing and decorating when they are older and actually care what their room looks like. There's nothing wrong with spending the money to really deck out a nursery--it's just not my thing.
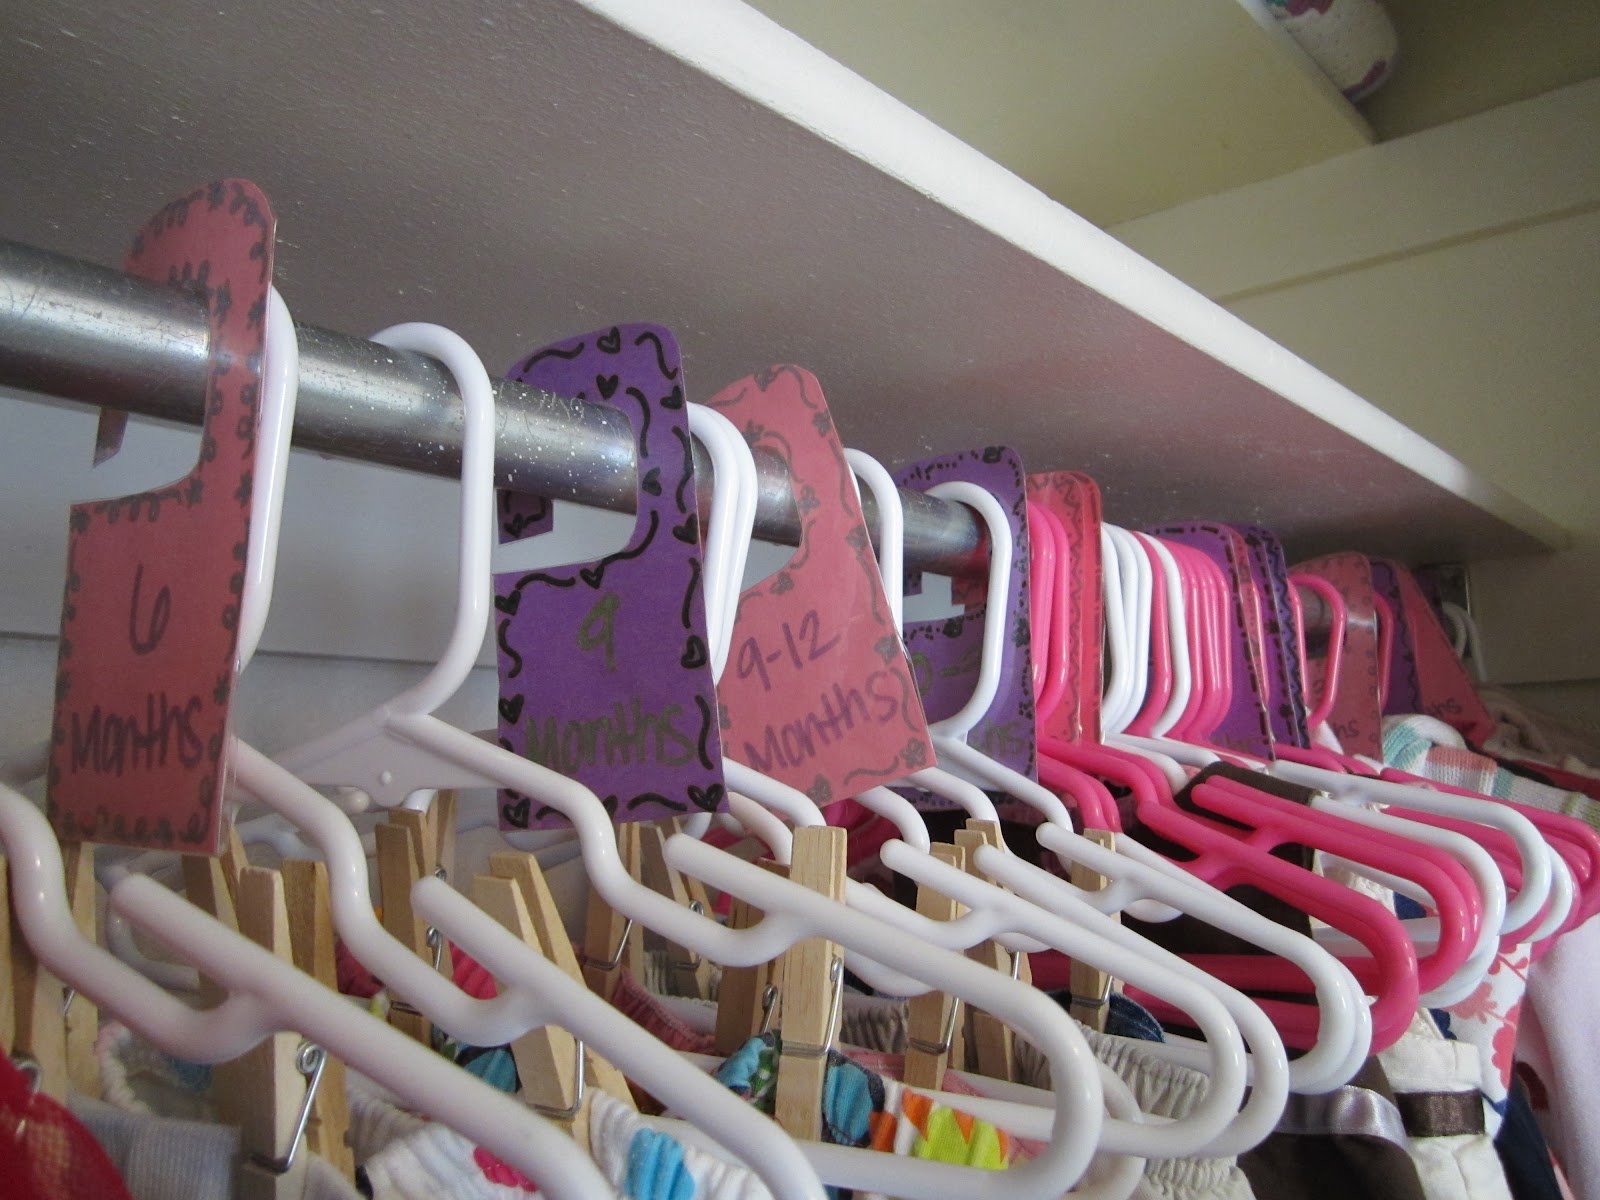
A while ago I saw on a friends blog a picture of how she organized her daughters closet. I loved the idea, so I copied it :) I didn't want to buy anything new to make the organizers, so I just used what I had: colored contraction paper, metallic markers, and packaging tape. I cut out the shape of how I wanted it to hang, decorated it, then used clear packaging tape to "laminate" them to make them last longer. For not being a very crafty/art person, I'd say they turned out pretty well!


So, what have we learned here?
1. That you don't need to spend a lot of money on a room for a baby who really has no idea that their room is even decorated cute. It's okay to be practical and frugal.
And
2. You can do a lot more with the things you already have in your home than you thought!
I should also add that when our son was born we had a 1 bedroom, so he did not have a closet. We set up the same shelving next to our bed, and just bought a wooden dowel and put it across through the holes and hung his clothes on there as well. So these also work great if you don't have anywhere to hang baby's clothes.


Love it Britt!! She is going to be a very cutely dressed little girl!!
ReplyDelete